How-to: Change Display Language Windows 10
The following tutorial explains the process of changing display language in Windows 10.
Most PC users use only one display and keyboard language when working on a Windows 10 computer, but users who operate in a multilingual environment use additional languages. Thankfully, Windows 10 now supports over 100 languages.
However, you first must install the language pack corresponding to the language you want to use. In Windows 10, installing new language packs and changing display language is done in the Language pane of the Time & Language Settings page.
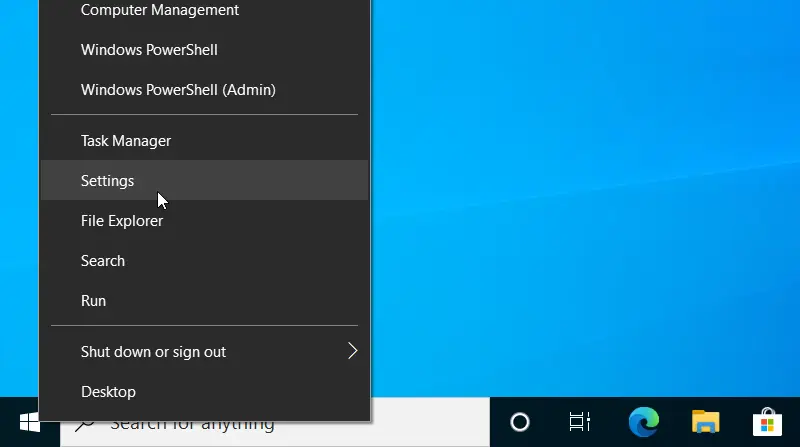
To open Language Settings, right-click the Start button and click Settings.
In the Settings window, select Time & Language, and then select Language.
Under the preferred languages section, you will see a listing of the languages the Windows can switch into.
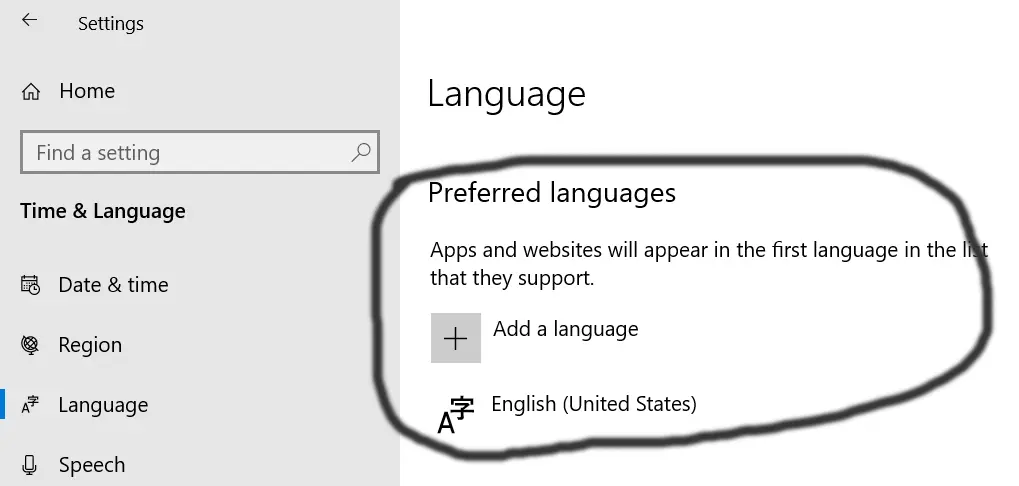
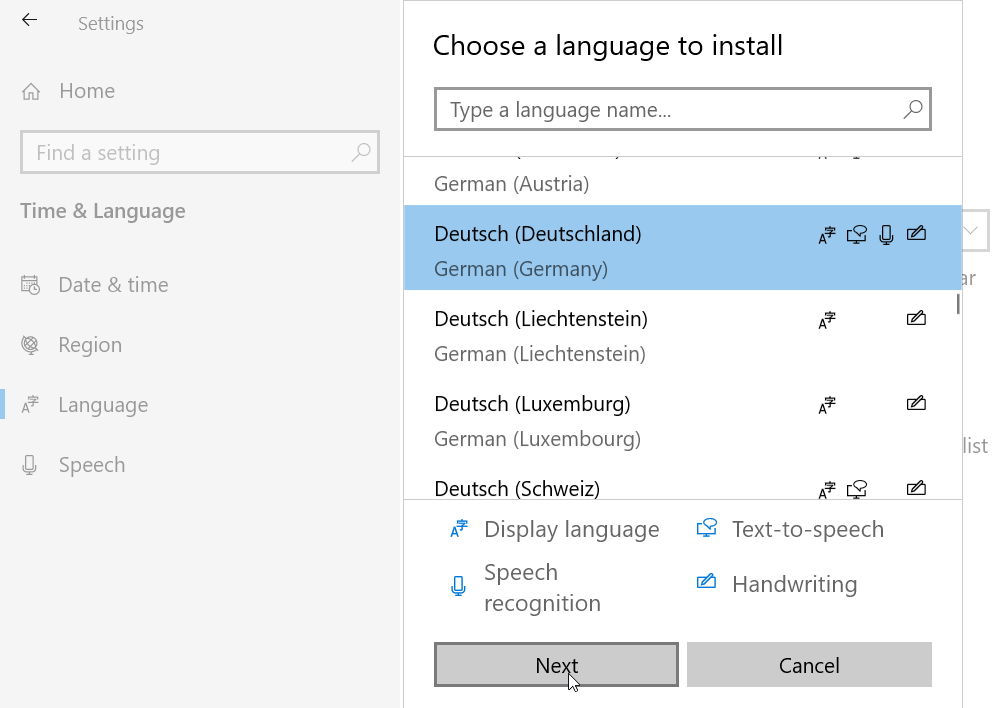
Click Add a language to install a new language pack, then select the desired language from the list and install it.
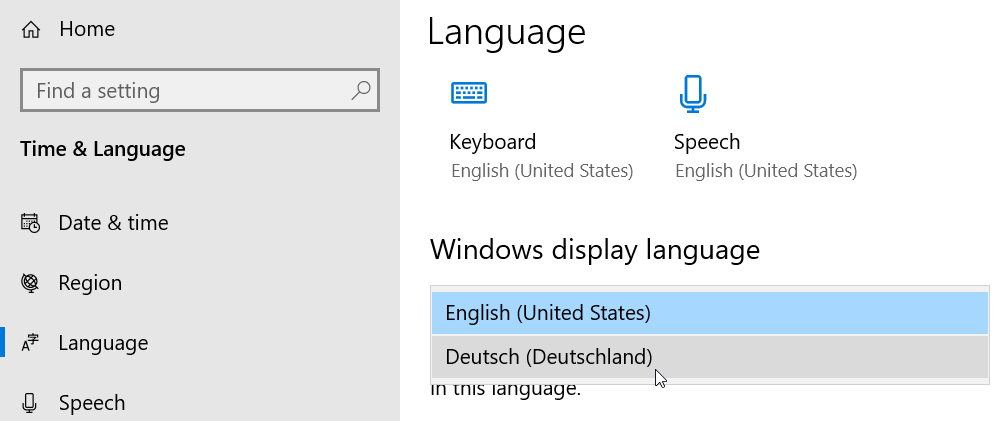
Back in the Language pane, now you can change the display language under the Windows display language drop-down menu.
The Start Menu, File Explorer, menus, and dialog boxes are now in the new language you selected.
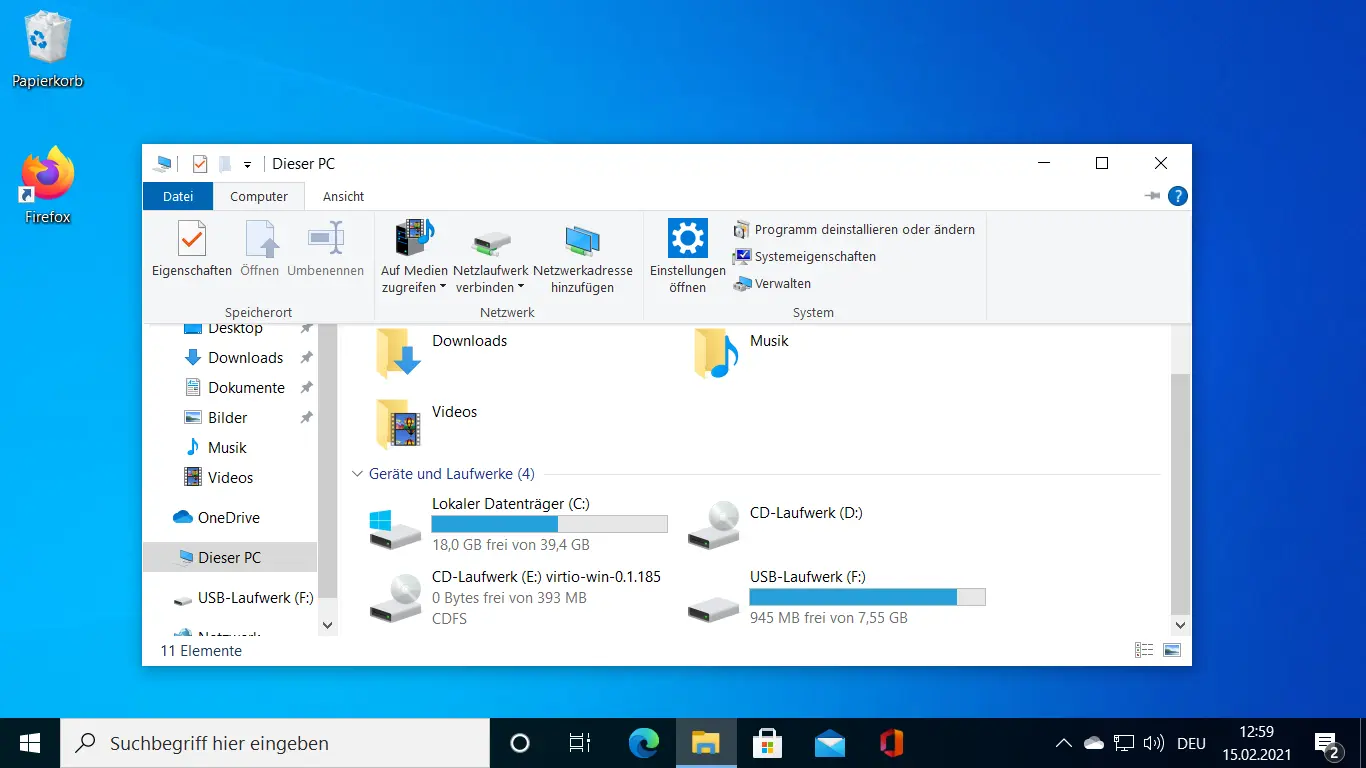
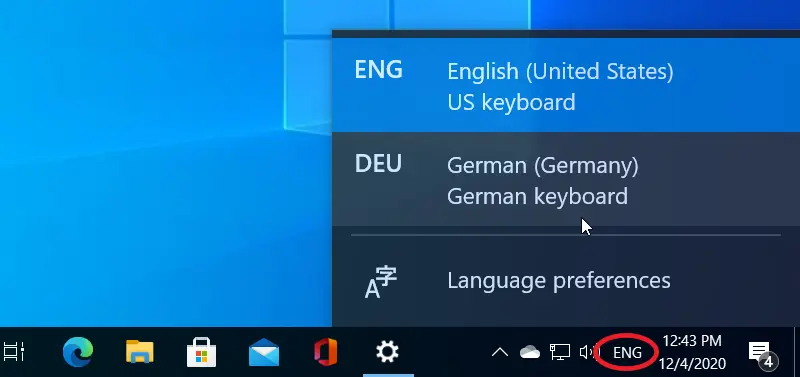
If you want, you have an option to set an entirely different input language to your keyboard. On the right side of the taskbar, you have this option to change the keyboard input language.
