How to Change Mouse Cursor in Windows 10
In this article, we will look at how to change the mouse cursor, cursor color, and cursor size in Windows 10.
Mouse Settings
To access Mouse Settings, open the Settings App (Press Windows Logo key + I), go into the Ease of Access category, and select Mouse pointer from the left pane.
Under the Change pointer size, drag the slider to the right to increase the cursor size.
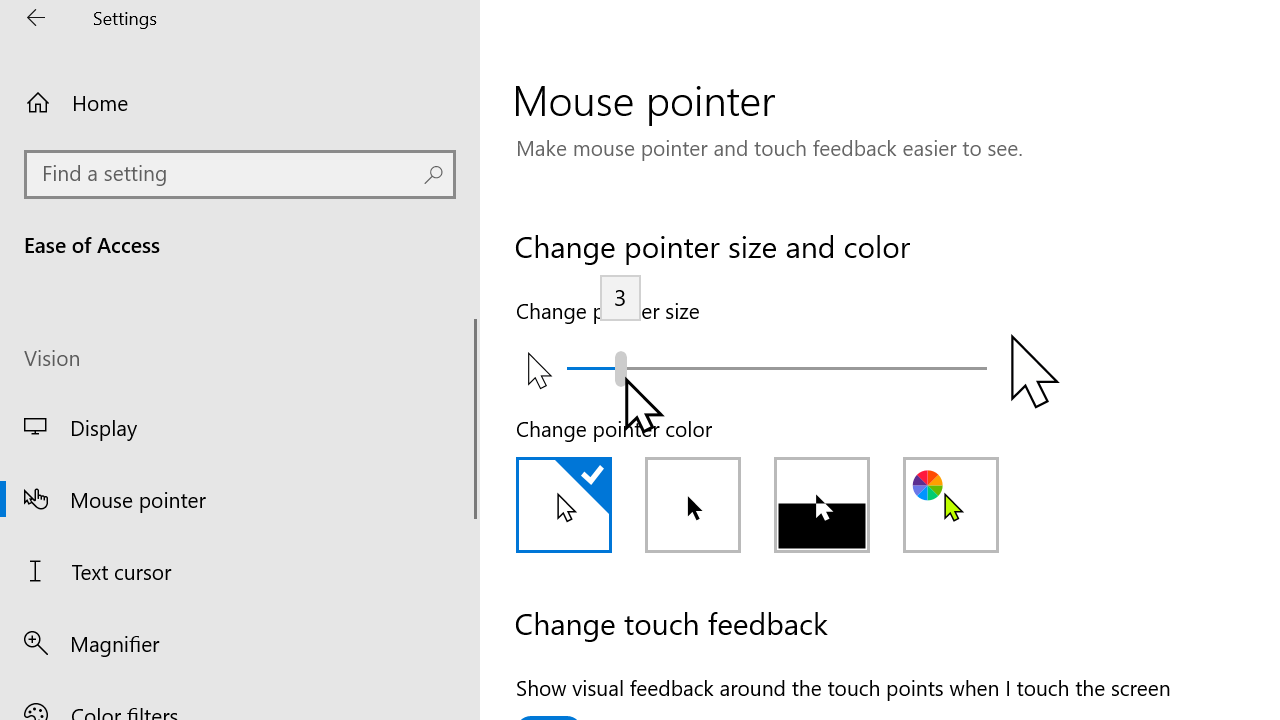
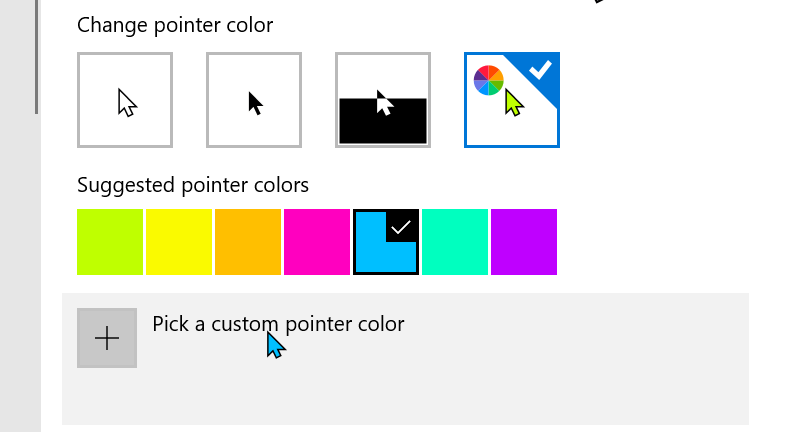
To change cursor color, select a predefined color from the Change pointer color section or click on the fourth option to pick a custom pointer color.
Additional Mouse Settings
Click the Additional mouse settings link to change the cursor speed and configure the mouse for a left-handed user.

Drag the cursor speed slider to the right to increase the cursor speed or the left to decrease the cursor speed.
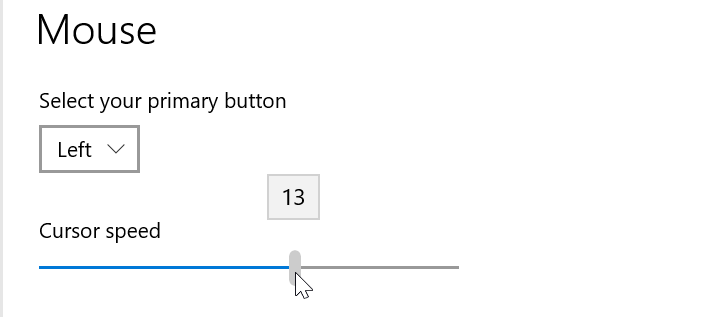
If you are a left-handed user, change the primary button to the right to swap the functions of the left and right mouse click.

Get a Custom Cursor
To change the mouse cursor, open Mouse Properties:
- Open the Run dialog box (Press
Windows Logo key + R). - Type
control mouse. - Click OK.

To change the pointer, click the Pointers tab of the Mouse Properties dialog box and choose a theme from the scheme drop-down menu.
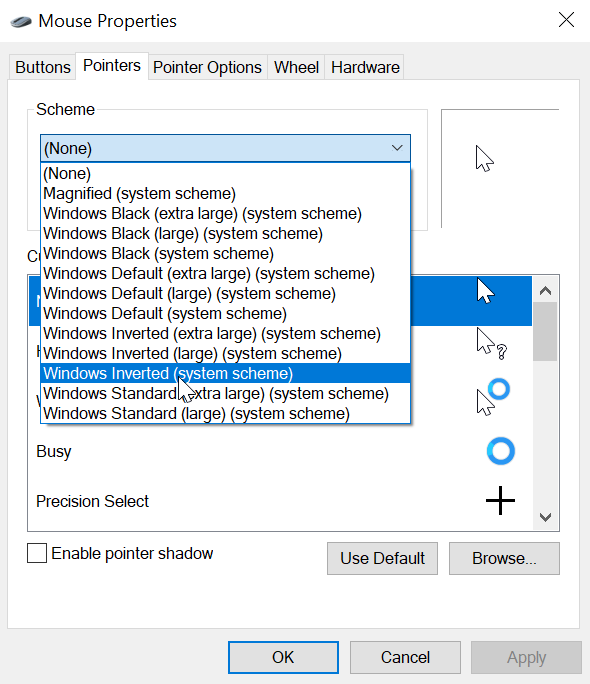
Or you can assign a Custom Cursor: Under the Customize section, select the pointer you want to change and click the Browse button.
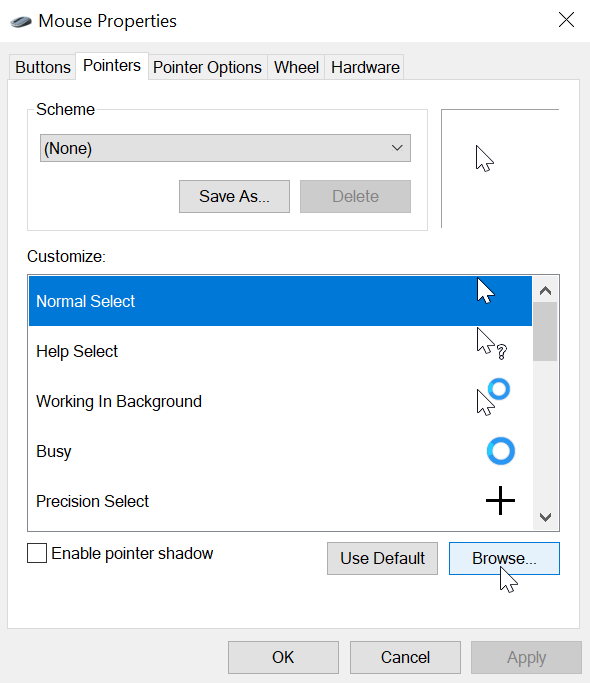
Select a cursor from the list and then click the Apply button.