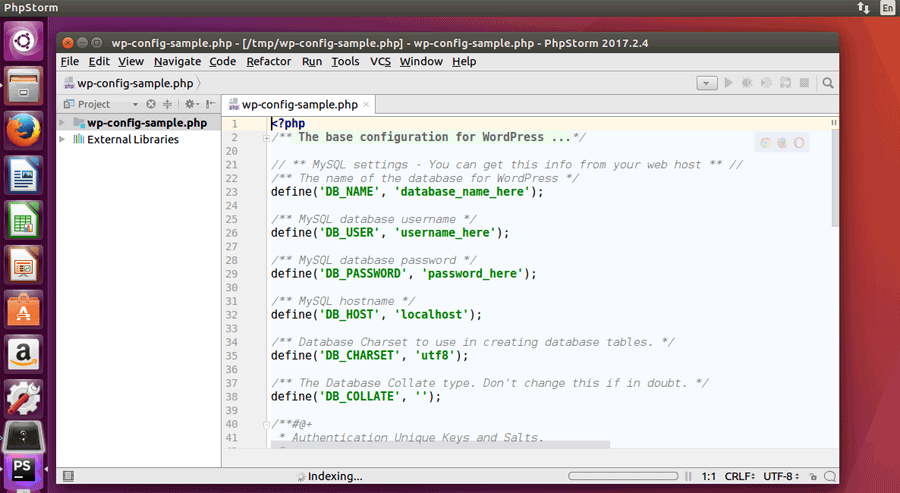
How to Install Phpstorm on Ubuntu Desktop
Let’s look at how to install phpstorm on Ubuntu Desktop. PHPStorm is an integrated development environment for the PHP by jetbrains. PHPStorm support PHP, HTML as well as JavaScript language.
For this tutorial I am using Ubuntu 16.04, but phpstorm can install on any version of Ubuntu Linux.
Following are the steps you need to follow, in order to install phpstorm on Ubuntu Desktop.
- Download PhpStorm for Ubuntu.
- Extract PhpStorm tar file.
- run phpstorm.sh file.
Installation packages of PhpStorm for Ubuntu can be found at https://www.jetbrains.com/phpstorm/download/#section=linux.
PhpStorm package for Linux/Ubuntu is tar.gz package.
After the download is finished, extract the tar file to the /opt directory.
sudo tar -zxvf PhpStorm-2017.2.4.tar.gz -C /opt
After that, run phpstorm.sh from the bin subdirectory inside the extracted folder.
sudo ./phpstorm.sh
This will run the initial configuration for the phpstorm on Ubuntu. Go with the default option to finish installing phpstorm on Ubuntu.
When asked for the “License Activation”, select “evaluate for free” to evaluate Phpstorm for 30 days.
Phpstorm is a commercial PHP IDE and you can use it for free only during the first 30 days after installation. After that you will have to purchase a license key to continue.
And that’s it!! Now you have PhpStorm PHP IDE installed on your Ubuntu Desktop.


