How to Install VirtualBox on Fedora 43: A Complete Guide
If you are using Fedora Workstation 43 and want to run virtual machines, Oracle VirtualBox is one of the most popular virtualization tools available. In this guide, we will look at how to install Oracle VirtualBox on Fedora 43, including all required dependency packages and post-installation configuration.
Steps We Need to Follow
The important thing is to follow the steps in the correct order. First, we need to upgrade the Linux kernel. After that, we install the required dependency packages. Then we download and install VirtualBox. Finally, we perform some post-installation steps such as adding the user to the vboxusers group and installing the VirtualBox Extension Pack.
- Upgrade the Linux Kernel on Fedora 43
- Install VirtualBox Dependency Packages on Fedora
- Download and Install VirtualBox on Fedora Workstation 43
- Add User to vboxusers Group
- Install VirtualBox Extension Pack
Step 1: Upgrade the Linux Kernel on Fedora 43
Before installing VirtualBox, we need to upgrade the Linux kernel. This ensures compatibility with the VirtualBox kernel modules.
Open your terminal and type:
sudo dnf upgrade kernelNote: After upgrading the Linux kernel, you must restart your computer before moving to the next step.
Step 2: Install VirtualBox Dependency Packages on Fedora
Once your system has restarted, you need to install a few dependency packages required for VirtualBox to build its kernel modules. Run the following command:
sudo dnf install gcc kernel-headers kernel-devel dkms binutils make patch libgomp glibc-headers glibc-develStep 3: Download and Install VirtualBox on Fedora Workstation 43
Now let’s download the VirtualBox software.
- Go to VirtualBox.org and click Download.
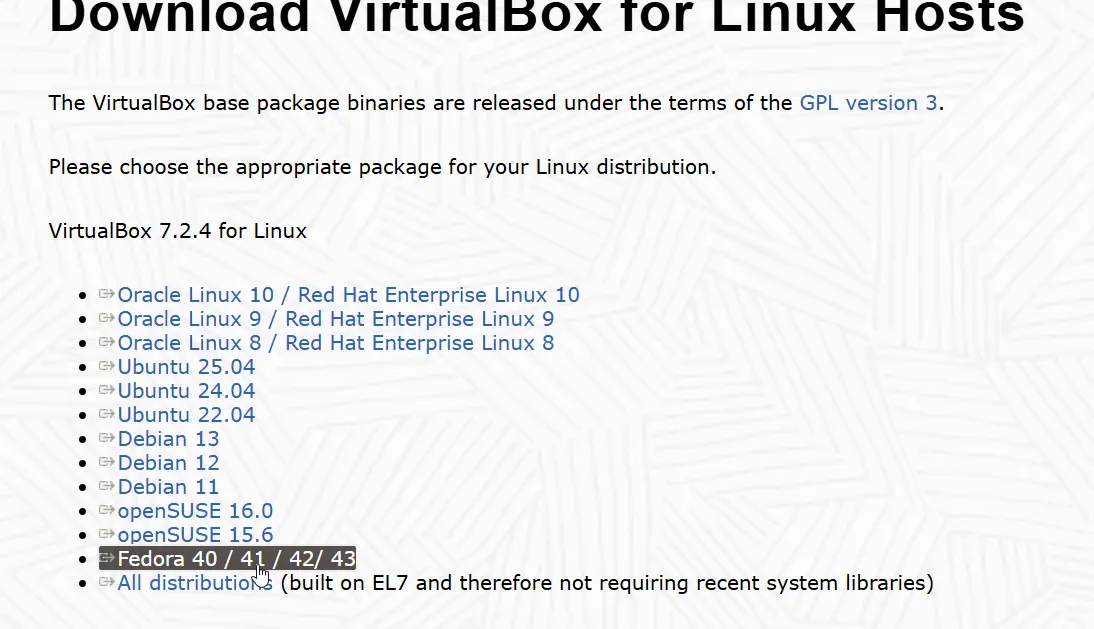
- From the download page, go to Linux Distributions and download the Fedora package.
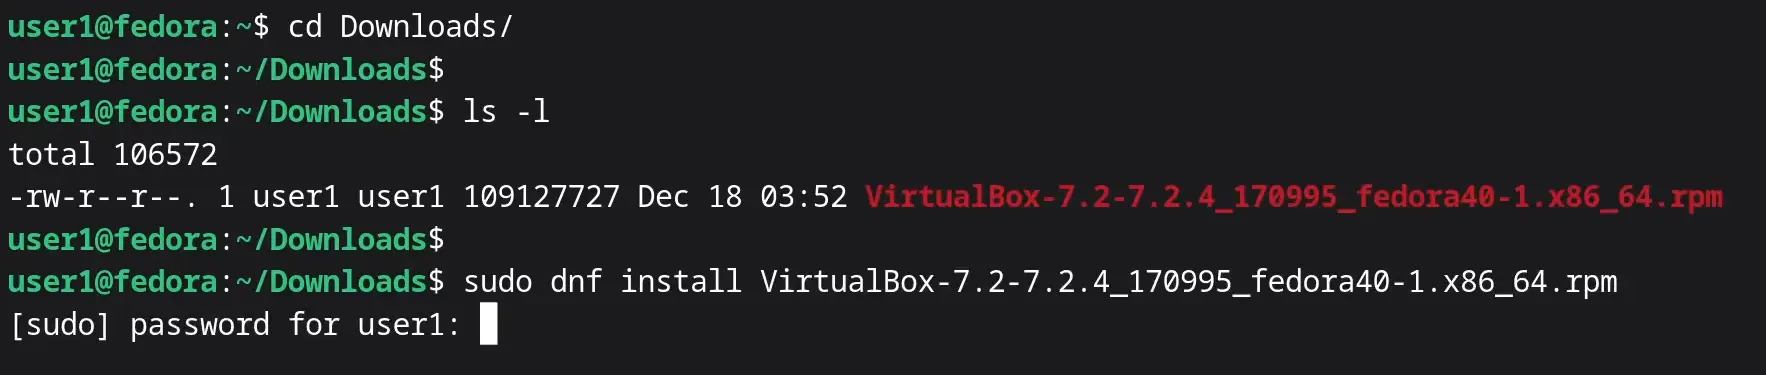
After the download is finished, open the terminal and cd into your Downloads folder. You will see the VirtualBox RPM package you just downloaded.
You can install the RPM package using the DNF command:
sudo dnf install [VirtualBox-Package-Name].rpm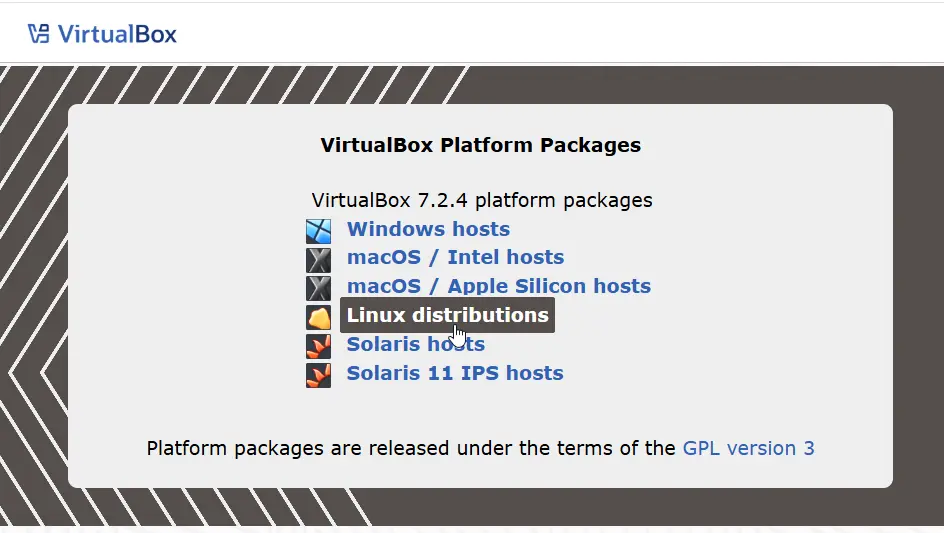
Step 4: Add User to vboxusers Group
If you start VirtualBox now, you may see a USB error message. To fix this, you must add your user to the Linux group called vboxusers. Any user who is going to run VirtualBox needs to be a member of this group.
To add your user (e.g., user1) to the group, run:
sudo gpasswd -a user1 vboxusersRestart your computer again for this change to take effect immediately. After the restart, you can run the groups command to verify that vboxusers is in the list.
Step 5: Install VirtualBox Extension Pack
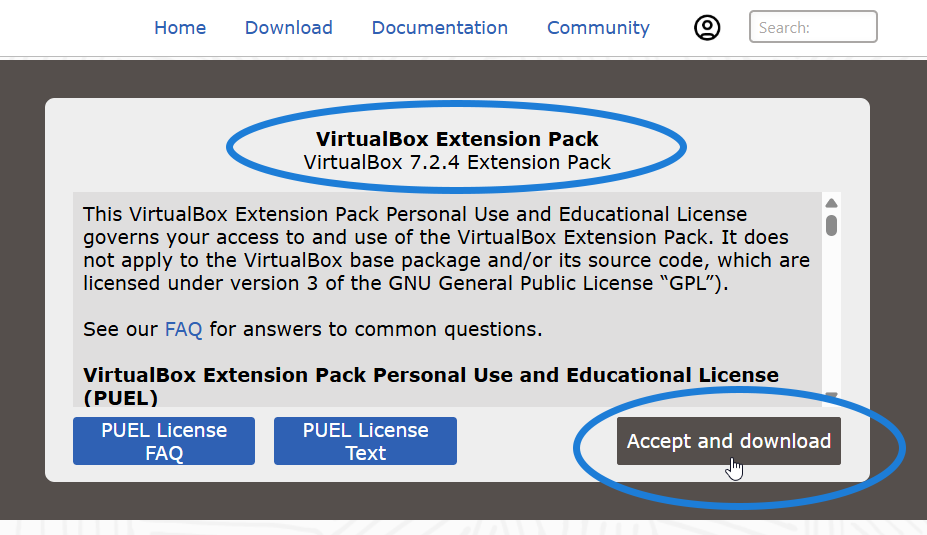
To enable additional features like USB 3.0 support, you need to install the VirtualBox Extension Pack:
- Go to the VirtualBox download page and download the Extension Pack for “All supported platforms.”
- Double-click the file to open it automatically with VirtualBox and click Install.
How to Update VirtualBox on Fedora
When you want to update VirtualBox to the latest version, go to the VirtualBox download page again. Download the latest Fedora package and install it using the DNF command, just as we did initially. This will update your existing VirtualBox to the latest version.
You Are Now Ready to Start Creating Virtual Machines
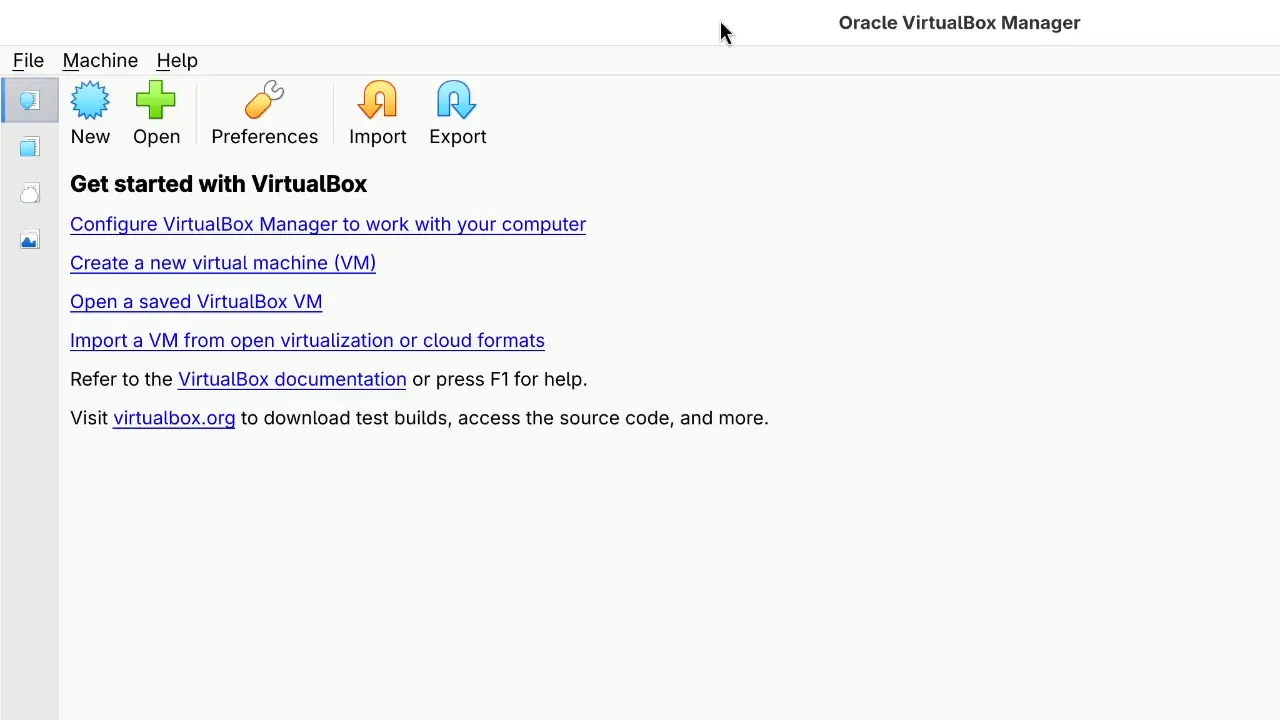
That’s all you need to do. Oracle VirtualBox is now installed and ready on your Fedora Workstation 43. You can now start creating and running virtual machines without any issues.
